Installing Woodpecker CI in your personal homelab
It's always fun to try something new, especially when it's so easy to set up! In this article I share my experience with Woodpecker CI after using it for thirty minutes.
One way I'm trying to keep all the side projects I revived in the last few weeks under control is, brace yourself, automated tests! Of course I don't have the time to include a full-blown testsuite that checks every last corner of the application, but I think just some rudimentary tests that check all the routes for error 500s should be included in every project.
But what would automated tests be without a Continuous Integration system to run them. Currently I use Forgejo as a git server and actually they added a built-in CI system in the latest version, but it is still marked as 🚨 experimental 🚨 and the installation instructions had more than three sentences, so I was too lazy to deal with it.
But since I need my CI system now, I looked for alternatives and found Woodpecker CI. The installation instructions are limited to “copy this docker-compose.yml and adjust three values”. That's right up my alley!
However, I didn't want to throw Woodpecker on my public VM, which has only a few CPU cores, when I have 16 cores to spare on my homelab server. So I created a new VM on it and started Woodpecker with docker-compose up -d, after I adjusted the configuration to make it connect to my Forgejo instance.
Surely, I could have put it on my existing Docker server where everything else is, but I'm always a little worried about services that want access to the Docker socket. I don't want it to break anything.
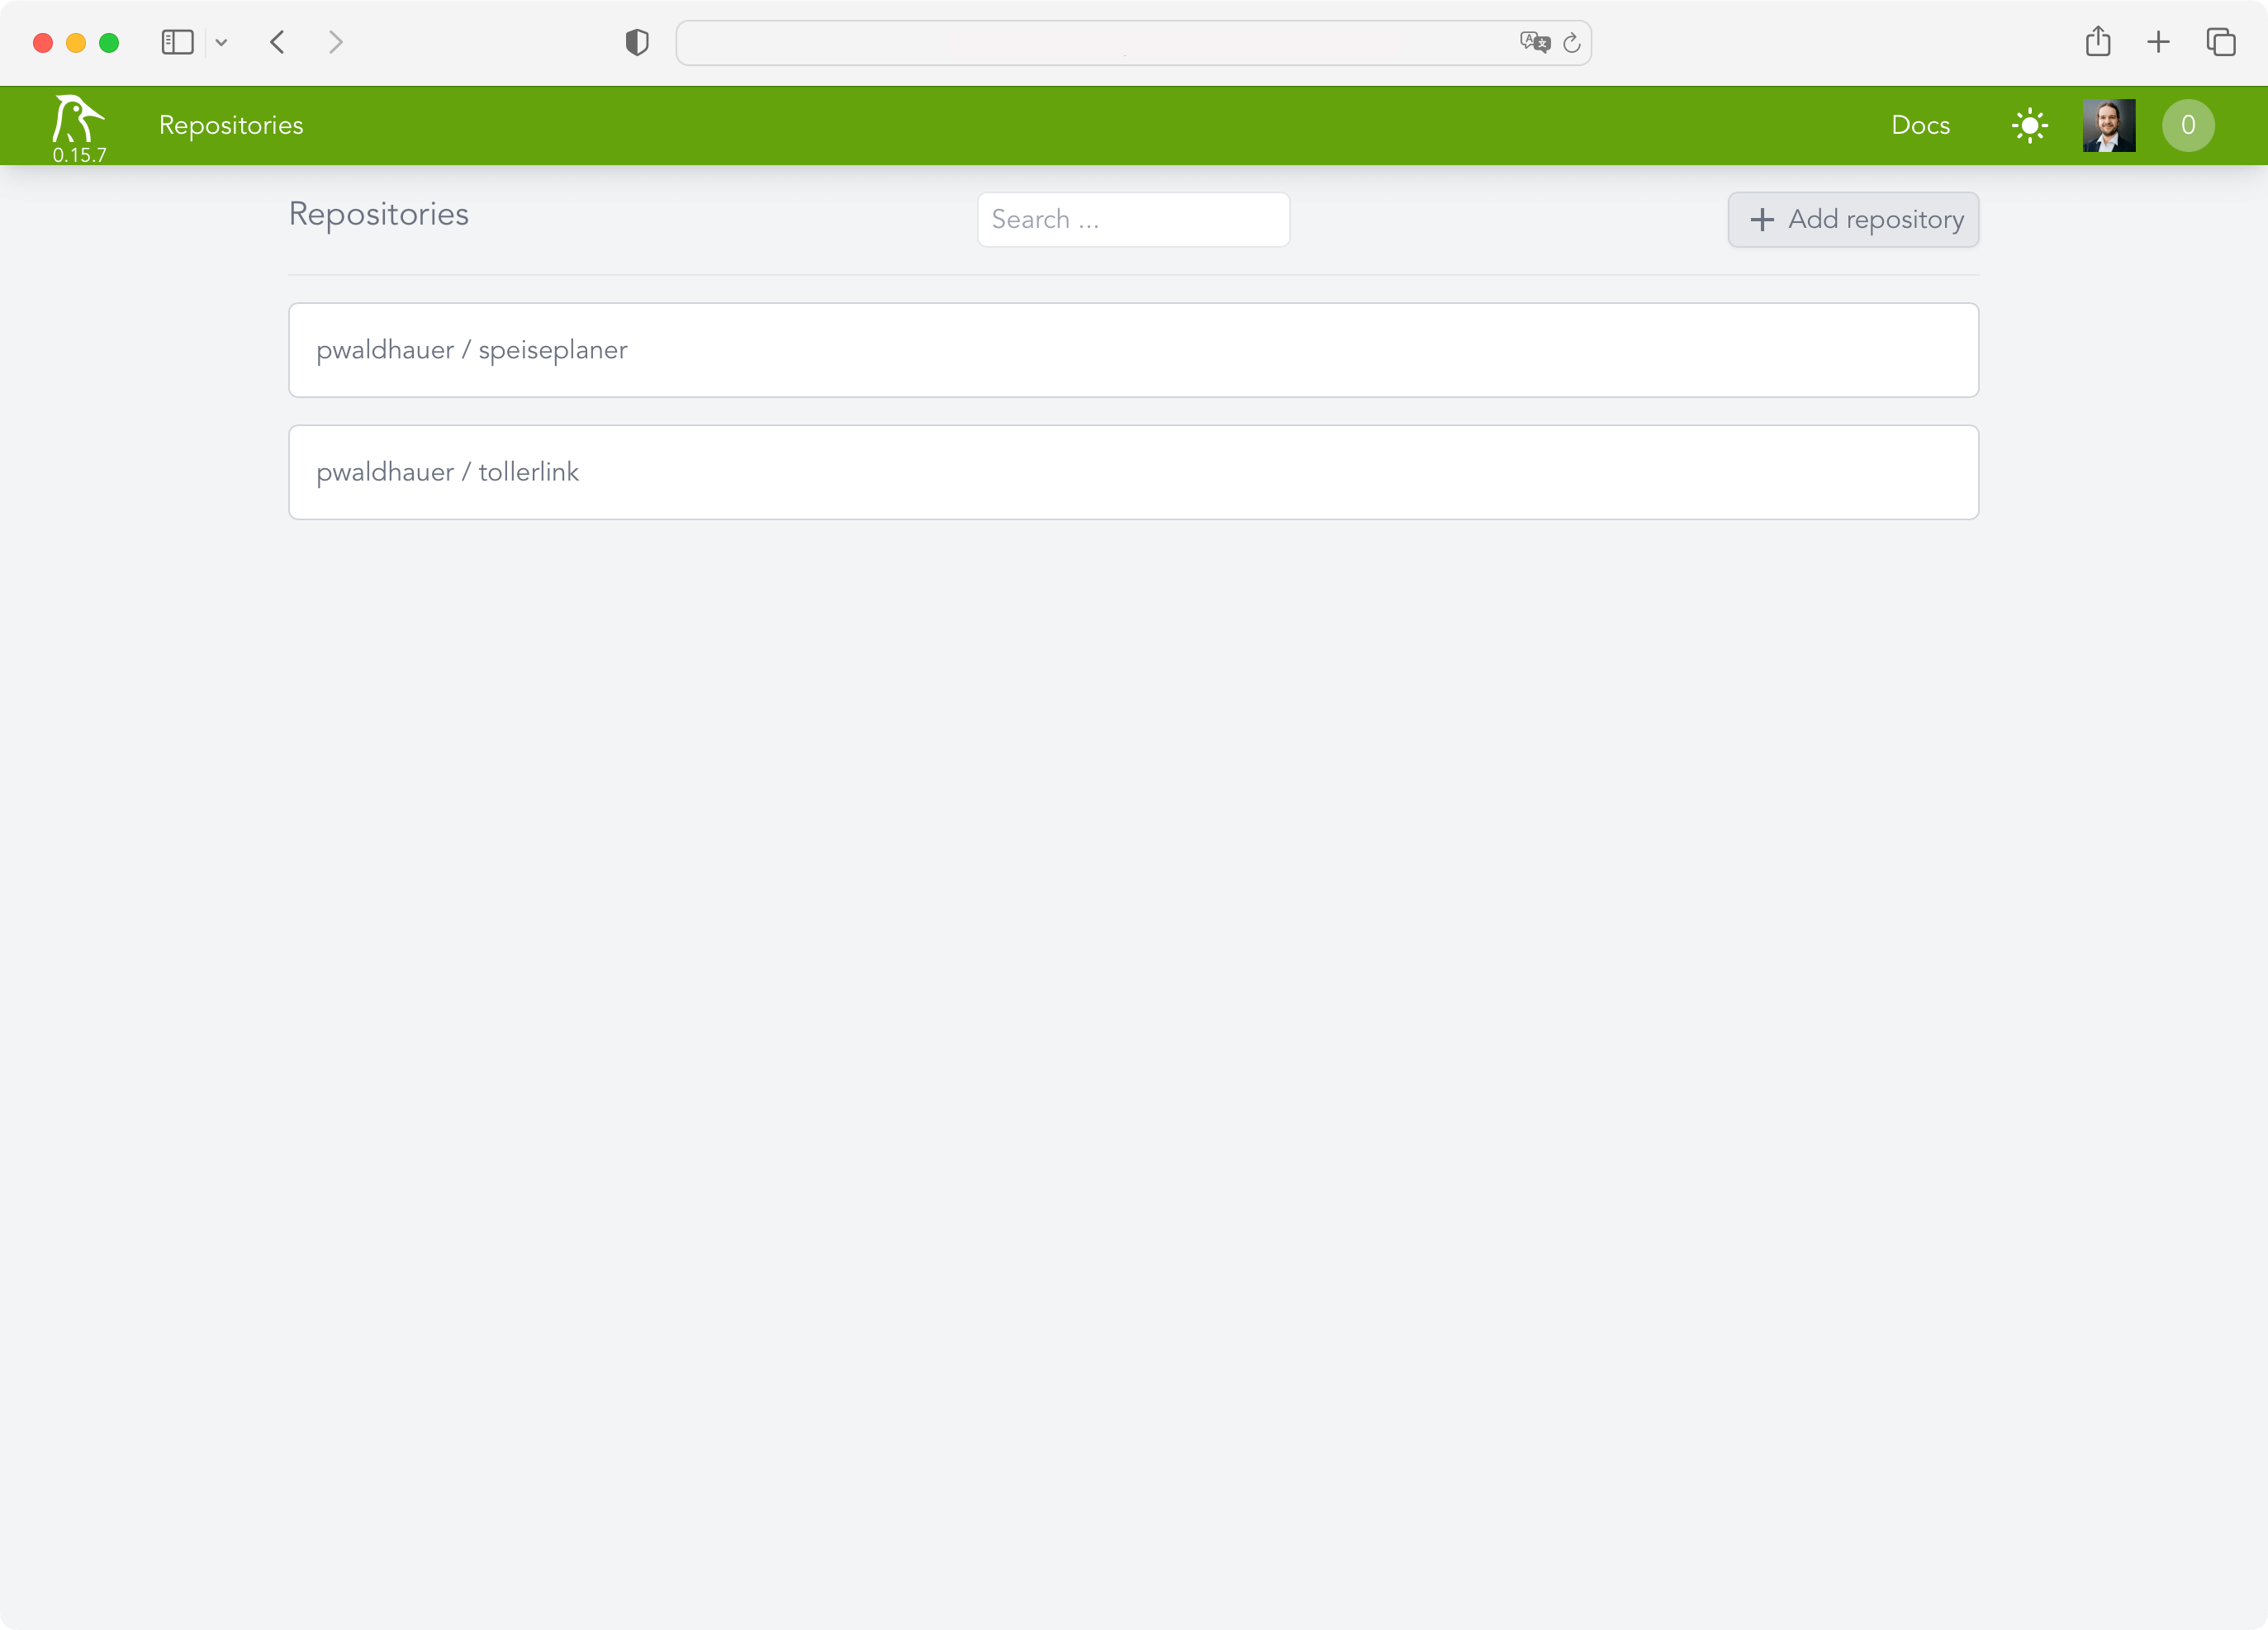
Woodpecker does not have its own user accounts but uses OAuth. Conveniently, you can just use the OAuth provider from Forgejo, for example, which all worked wonderfully. After a few seconds I was able to add my first projects.
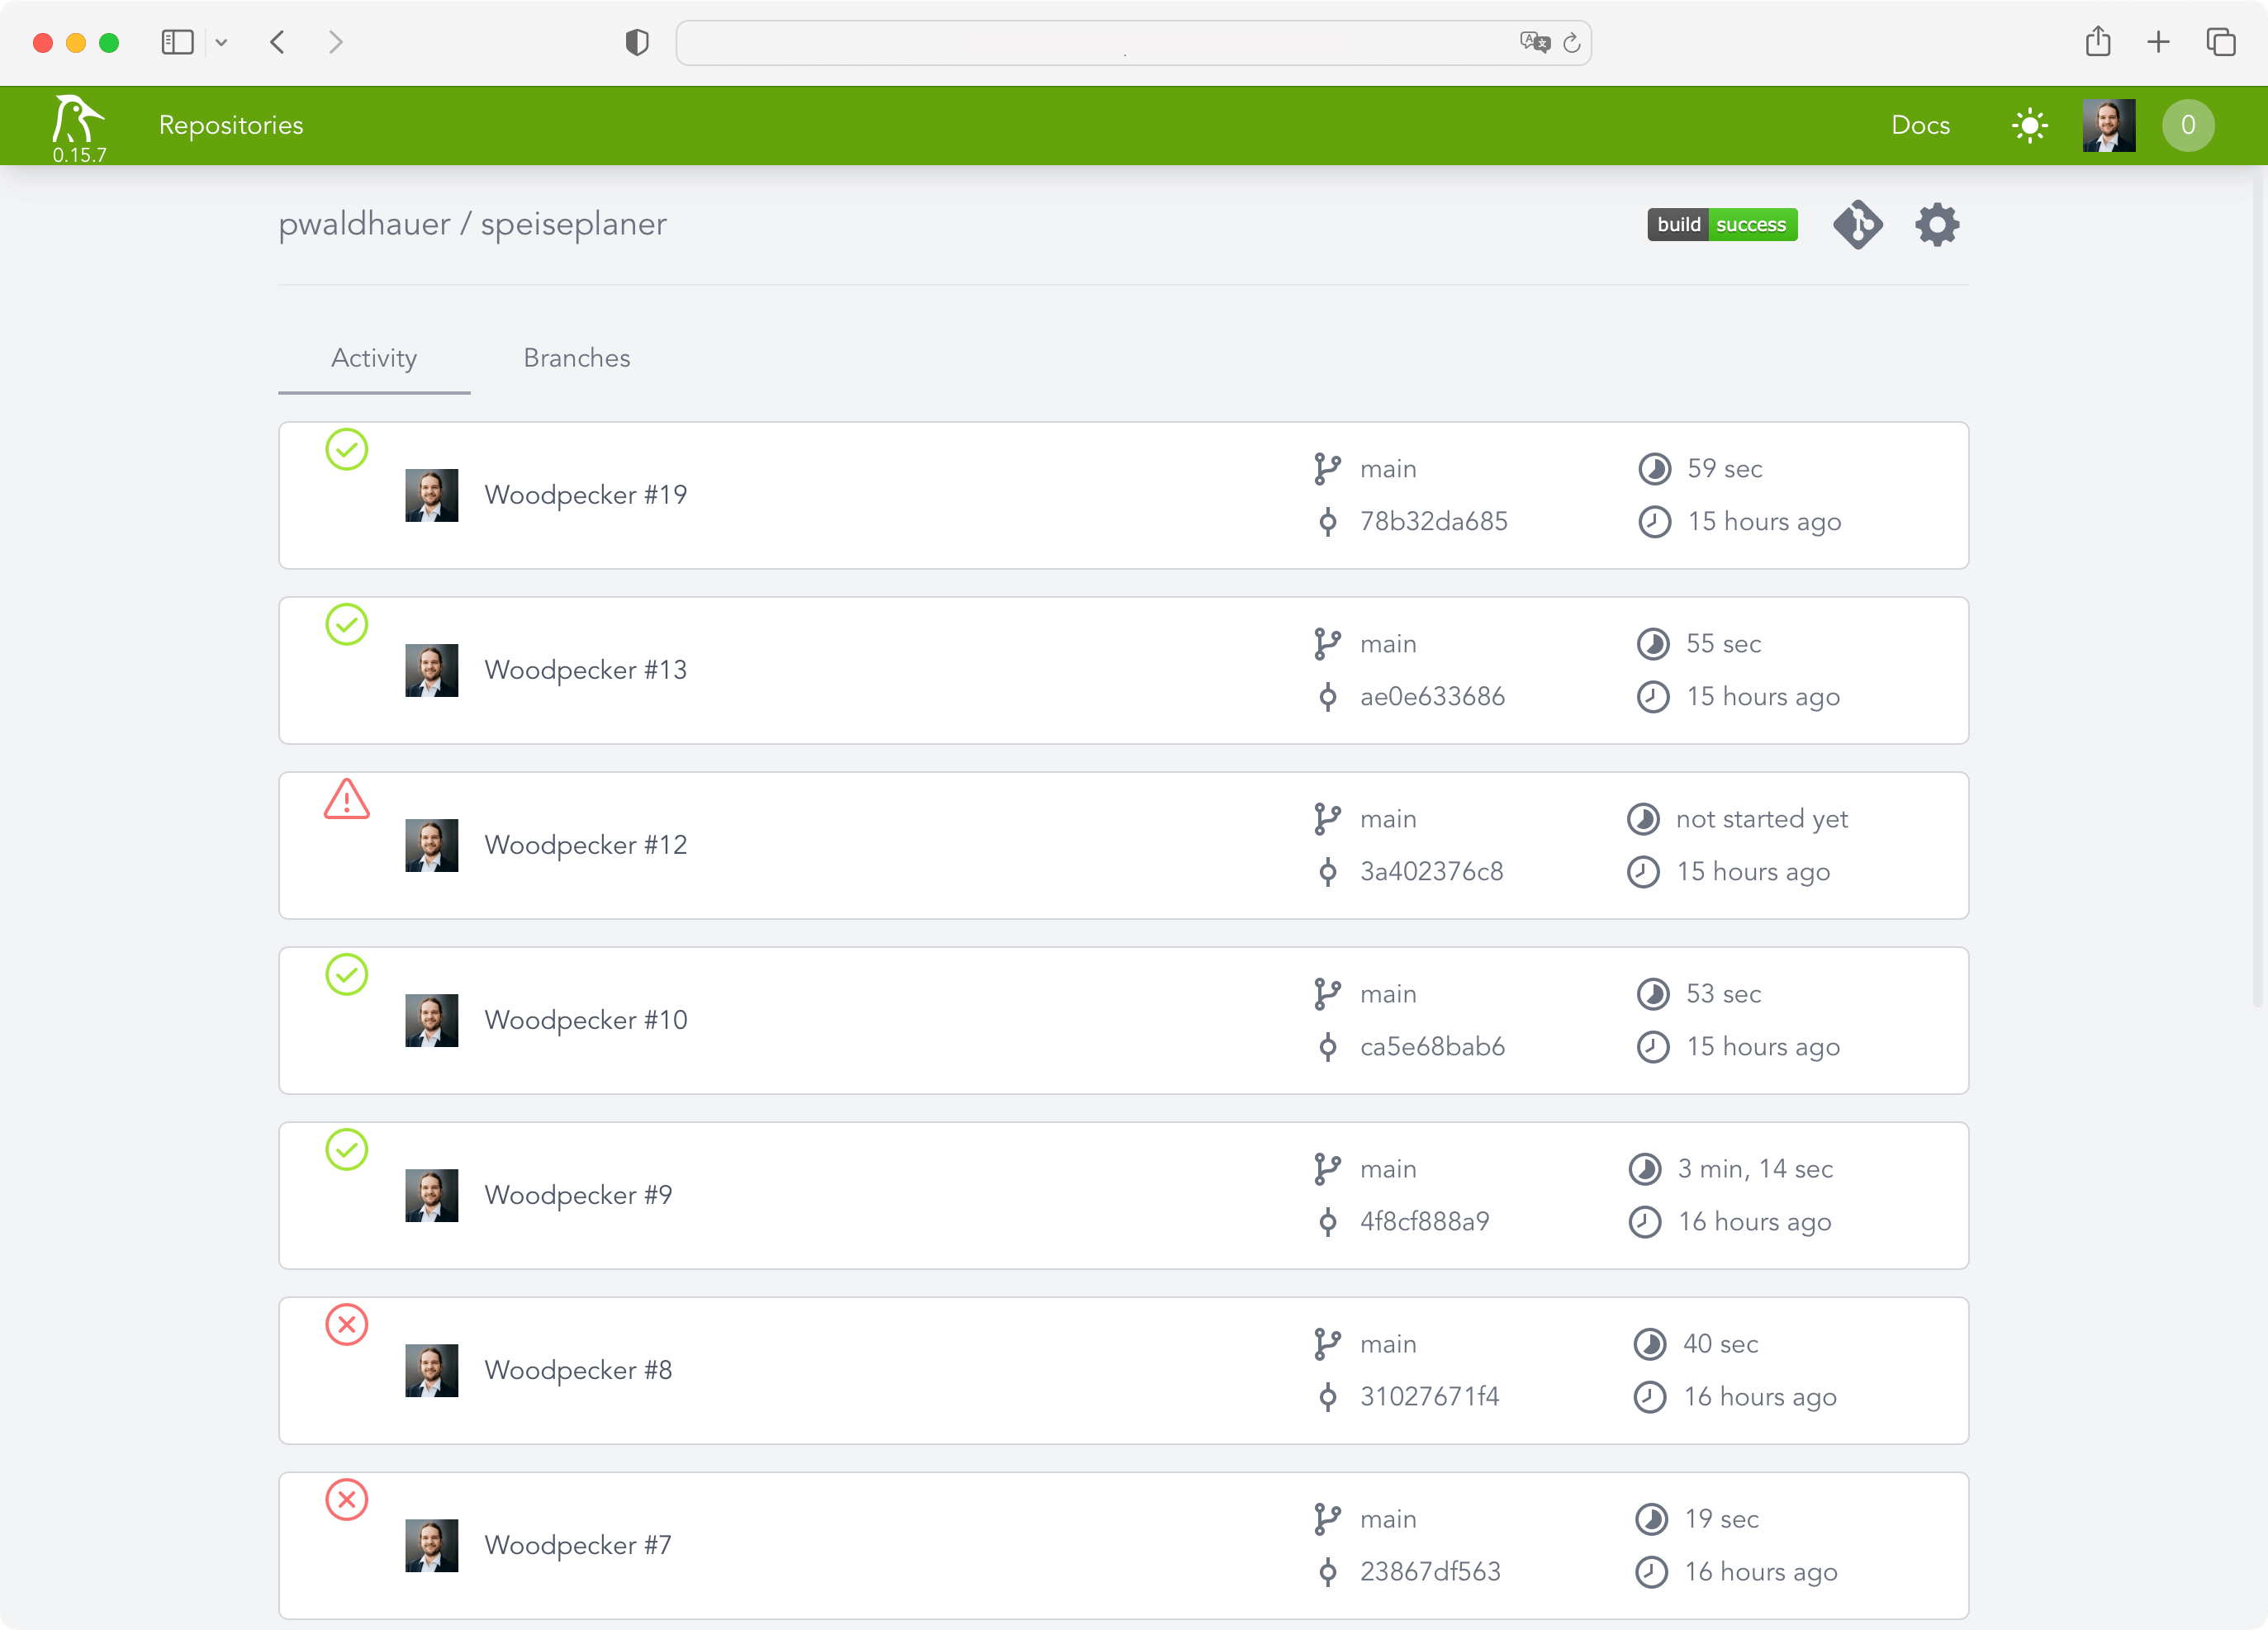
Now I just had to create and commit a .woodpecker.yml with all the pipeline steps. Unfortunately one thing still did not work: Woodpecker was not informed about new commits. While it automatically created a webhook in Forgejo, it, of course, used the internal IP of the VM as the hostname, which Forgejo could not reach, because it's not installed in my homelab. So I quickly installed Tailscale and extended my ACL:
    "acls": [

        […],

        {
            "action": "accept",
            "src":    ["public-projects"],
            "dst":    ["woodpecker:80"],
        },
    ]
After adjusting the URL in the webhook to use the Tailscale IP, everything worked. It needed only fifteen commits with the
title “Fixing Woodpecker” until my tests ran through. I ended up with the following configuration:
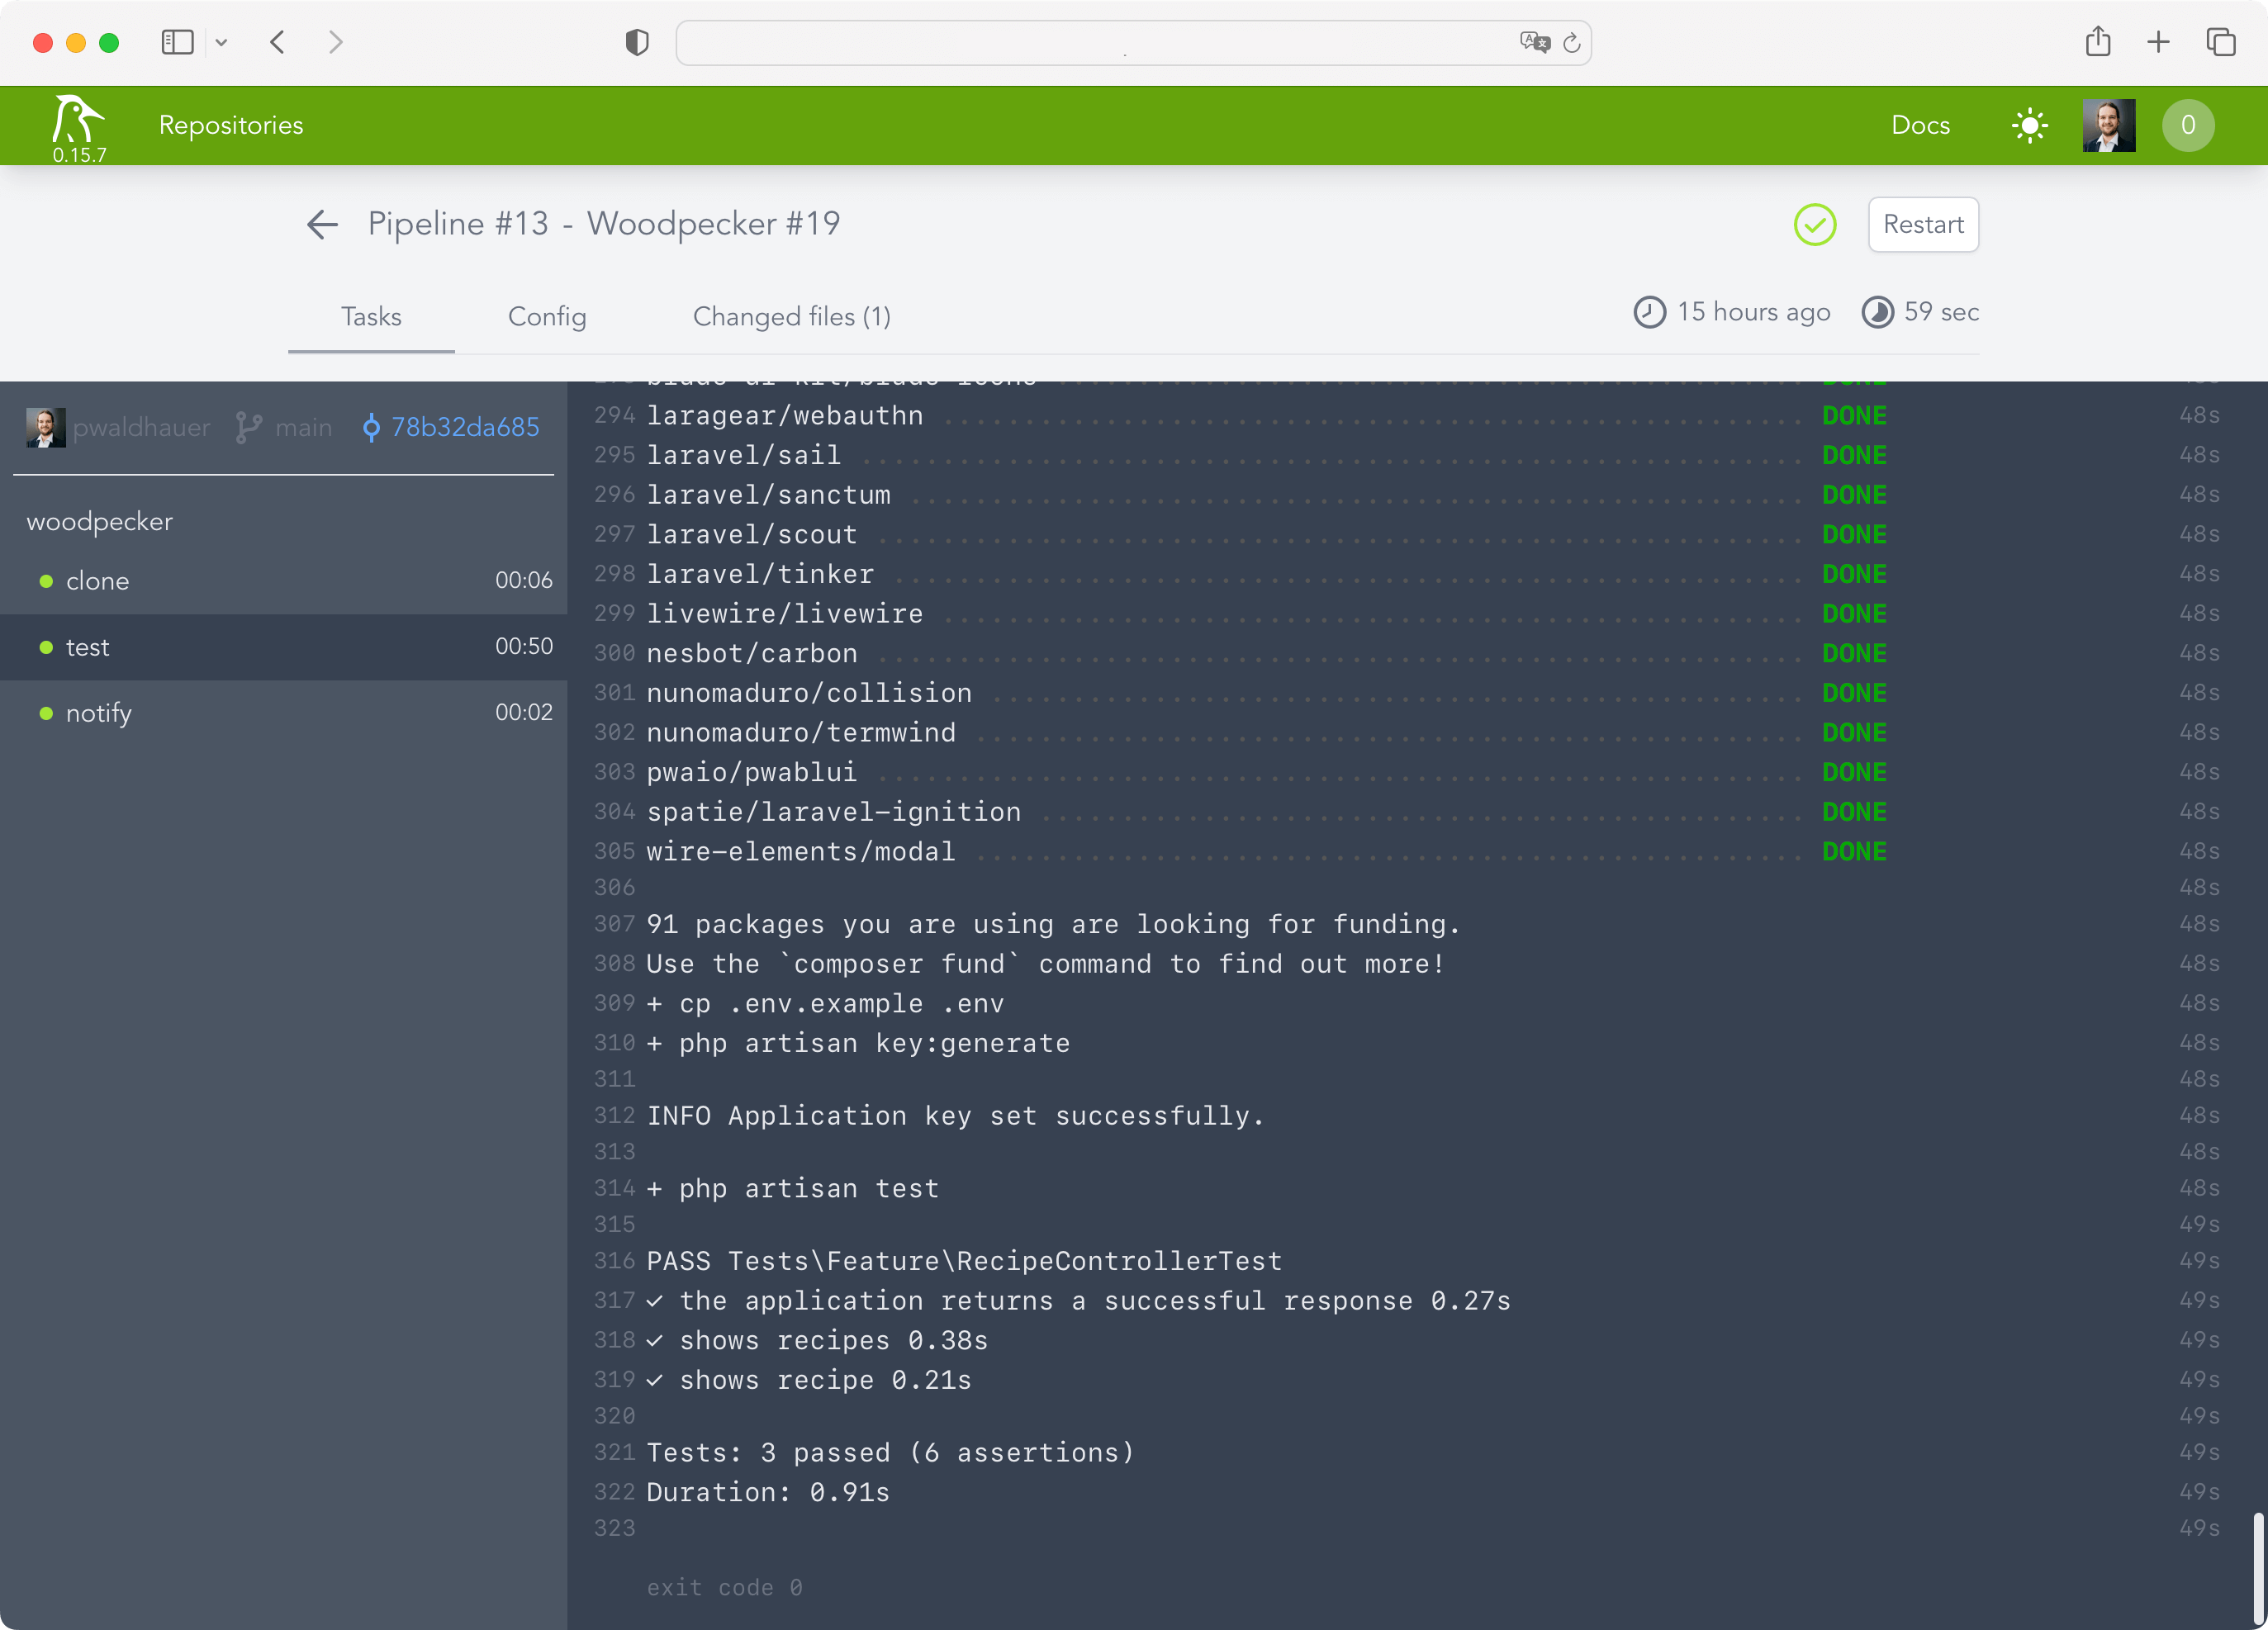
pipeline:

  test:
    image: lorisleiva/laravel-docker:8.2
    commands:
      - npm install
      - npm run build
      - composer install
      - cp .env.example .env
      - php artisan key:generate
      - php artisan test
What's interesting here, is that I have to install all the frontend stuff because Laravel is so deeply intertwined with Vite that it won't work if the frontend assets aren't built. Phew! But oh well, that's just the way it is.
After the pipeline was running, of course I wanted to be notified when something happens. To achieve this, Woodpecker has plugins that can be incorporated into the pipeline directly. I decided to use the Webhook plugin to send me a notification via my own push notification tool. The url parameter is obtained from a secret that is managed by Woodpecker, as it includes the authentication token.
notify:
image: plugins/webhook
settings:
urls:
from_secret: NOTIFYURL
content_type: application/json
template: |
{
"topic": "woodpecker",
"message": "Build of {{ repo.owner }}/ {{ repo.name }} has status {{ build.status }}. "
}Actually, caching of node_modules and vendor folders would be part of a good CI configuration but the plugin I found didn't work. For my use case this is enough for now and I don't want to invest too much time in Woodpecker, because I'll surely switch to Forgejo Actions once it's not experimental anymore – simply because it is a copy of Github Actions and so I have to learn one less Yaml dialect.
My conclusion: Woodpecker CI is set up super fast and works very well for my limited use case. I needed a maximum of one hour for the entire setup (with 10 minutes just for setting up the new VM, I should finally make a copyable snapshot instead of clicking through the Debian installation every time).
Overall, however, the product still seems very new and not polished at all corners, I am curious how it will develop in the future.